🍞 Rustic Focaccine, Crispy Outside and Soft Inside
Rustic multi-flour focaccine with rye, semolina, legumes. High-hydration direct dough, cold fermentation.
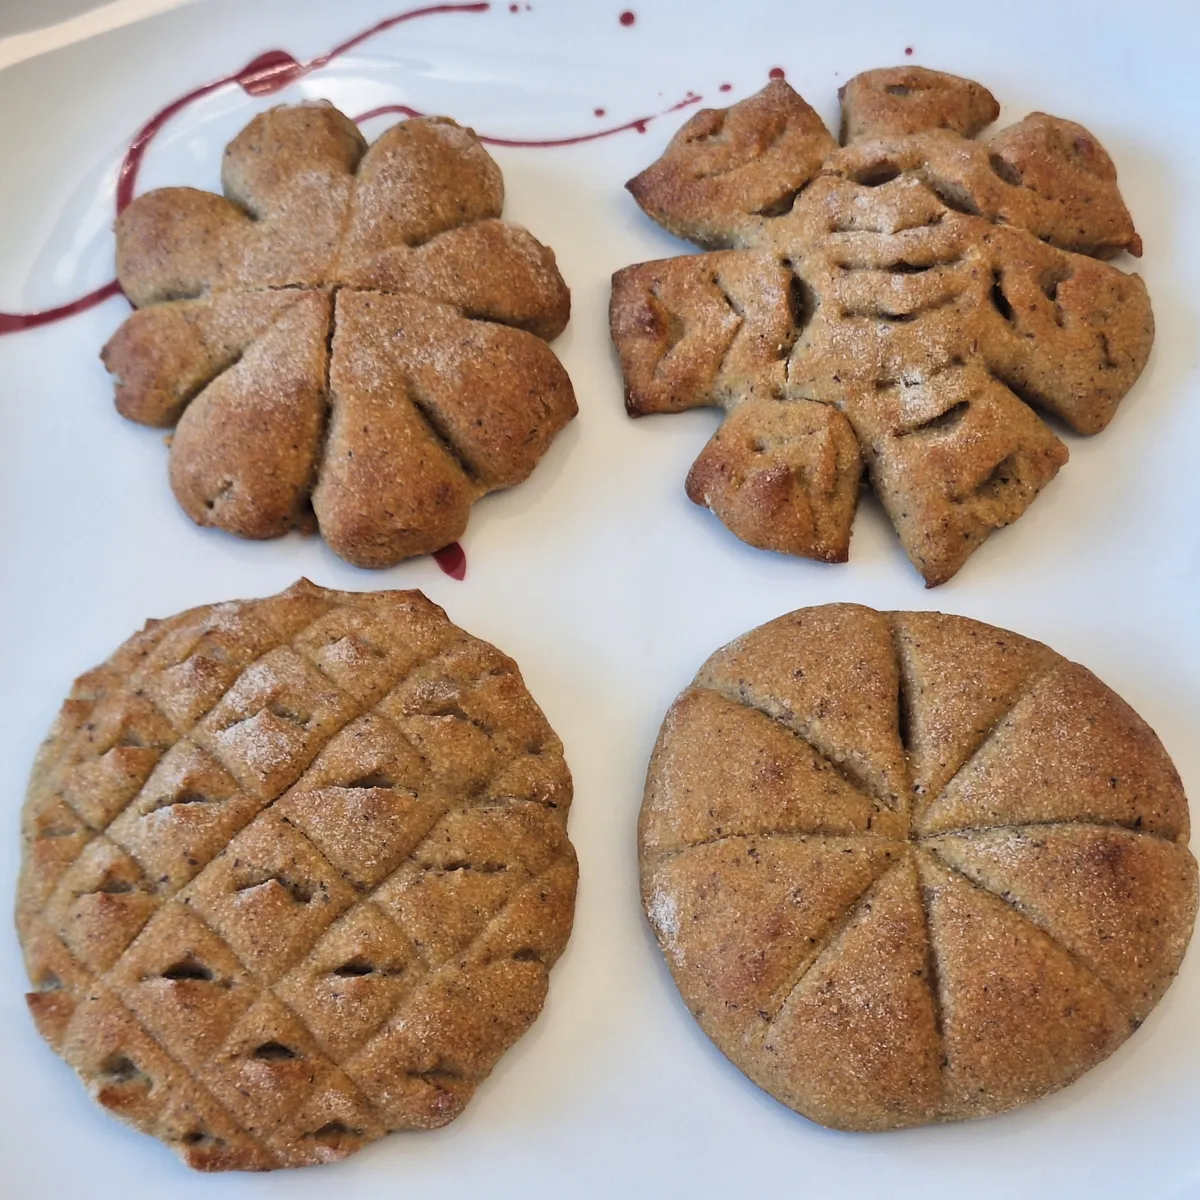
Rustic Focaccine, Crispy Outside and Soft Inside
Set the amount of ingredients you want to use with one of the two options below:
Quantity
Strong type 1 flour (min g, max g):
g
Ingredients
| Ingredient | Quantity | % |
|---|---|---|
| Strong type 1 flour | 400 g | 40% |
| Type 2 flour | 150 g | 15% |
| Re-milled durum wheat semolina | 200 g | 20% |
| Wholemeal rye flour | 170 g | 17% |
| Legume flour (chickpea or pea) | 80 g | 8% |
| Water | 780 g | 78% |
| Fine salt | 10 g | 1% |
| Extra-virgin olive oil | 20 g | 2% |
| Diastatic barley malt | 5 g | 0.5% |
| Active dry yeast | 4 g | 0.4% |
Method
- Autolyse (optional but recommended): in a large bowl, combine all the flours with the water. Mix roughly until incorporated. Cover and rest 20-60 minutes. The autolyse allows the flours to fully hydrate and begins gluten development before kneading, making subsequent work shorter and the result more extensible.
- Knead: add 5 g malt and 4 g yeast (dissolved in a little water from the total). Knead for a couple of minutes to incorporate, then add 10 g salt and 20 g extra-virgin olive oil. Continue kneading until the flour and oil are fully absorbed. There is no need to achieve a smooth, round ball at this point: that will come after the first fold. Cover the bowl with a lid or a plate.
- Bulk rise: perform 3 stretch & folds every 30 minutes, then leave the dough covered at room temperature until doubled in volume.
- Cold fermentation: lightly oil the bottom of the container (optional step, but helps with releasing the dough after fermentation). Cover and refrigerate for 12-24 h (up to 48 h possible).
- Shaping: divide the dough into 50-100 g pieces. Gently flatten into discs no thicker than 1 cm. Rest covered for 45-60 minutes at room temperature.
- Optional brine: emulsify water and oil in a 1:1 ratio by beating with a fork. Brush onto the surface of the focaccine, poke holes with a fork (optional), add dried oregano to taste.
- Baking: bake at 250 °C for about 15 minutes (adjust by eye: 2-3 minutes more for a crispier crust, less for softer focaccine).
Technical Notes
- Hydration. This recipe uses 78% hydration. It can be varied from 70% up to 80%. I advise against exceeding 80% because the dough becomes significantly harder to work without noticeable benefits to the final product.
- Autolyse. This is an optional but recommended step. It consists of mixing flour and water and letting it rest for 20-60 minutes before adding salt and yeast. This time allows the flour to fully hydrate and the gluten to begin forming on its own, resulting in shorter kneading time and a more extensible, workable dough. Reserve a little water from the total to dissolve the yeast separately: it will be easier to incorporate after the autolyse.
- Role of each flour. Type 1 flour (40%) provides the structural backbone of the dough thanks to its gluten content (13-14% protein): it is the flour that gives elasticity and holds the others together. Type 2 flour (15%), semi-wholemeal, contributes a more complex flavour and a slightly nutty note, adding fibre without compromising the structure too much; it absorbs slightly more water than type 1. Re-milled semolina (20%) gives the crust its crunch, a golden colour and a "shorter" texture (less elastic, more crumbly): it is the key ingredient that sets the rustic focaccine apart from the cloud-style ones. Rye flour (17%) brings an earthy and slightly tangy flavour, absorbs 10-12% more water than white flour and has very little gluten, so it is the type 1 flour that must compensate structurally. Legume flour (8%), a blend of chickpea, lentil and pea, adds protein, a delicately sweet flavour and a slightly warmer colour, without developing gluten.
- Variations. For a smoother, less rustic dough, shift part of the type 2 towards type 1. For an even crunchier crust, shift part of the type 2 towards semolina. The balance between these three flours determines the final character of the focaccina.
- Salt. The base dose is 10 g per kg of flour (1%). For a bolder flavour you can go up to 20 g/kg (2%), which is still within the norm for savoury baked goods. Salt should always be added after the autolyse, never in direct contact with the yeast.
- Oil. The base dose is 20 g per kg of flour (2%). It can be increased up to 40 g/kg (4%) for better palatability, a softer crumb and longer shelf life. Oil should be incorporated at the end of kneading so it does not interfere with gluten formation.
Diastatic Malt vs Sugar/Honey
| Diastatic malt | Sugar / Honey | |
|---|---|---|
| Type of nourishment | Active enzymes (alpha and beta-amylase) + simple sugars | Simple sugars only (sucrose/fructose) |
| Mechanism | Enzymes progressively break down flour starch into maltose, providing continuous nourishment to the yeast throughout fermentation (12-48 h) | Supplies immediately available sugars that yeast exhausts rapidly in the first hours |
| Osmotic effect | None | At high concentrations draws water from yeast cells by osmosis, slowing fermentation |
| Long fermentation | Ideal: steady nourishment for 24-48 h+ | Unsuitable: after the initial boost there is no more nourishment |
| Maillard reaction | Produces reducing sugars → golden and aromatic crust | Surface caramelisation (darker colour but different flavour) |
| Effect on structure | No negative effect; improves crumb structure | Weakens gluten (liquefying effect) |
For long fermentations (12-48 h) diastatic malt is clearly preferable. Alternatively, sugar or honey can be used at the same dose (5 g/kg) or omitted entirely: fermentation will still work, but will be less regular and the crust less golden.
Storage
- Room temperature: 3-4 days in a closed container. Beyond that they dry out.
- Fridge: 4-5 days in a closed container, but not recommended because they become rubbery and dry out. They can be refreshed with a few minutes in the oven. If they need to be kept 3-4+ days, it is better to freeze them.
- Freezer: up to 3 months. Thaw in the fridge or at room temperature. Reheat in the oven at 180 °C for 5 min.
Sources
- Chainbaker. "How Does Sugar Affect Bread Dough?" — https://www.chainbaker.com/sugar-effect/
- Top Taste of Passion / Montanari, Giorilli. "Il malto è davvero sostituibile dallo zucchero o dal miele?" — https://www.top-tasteofpassion.it/il-malto-e-davvero-sostituibile-dallo-zucchero-o-dal-miele/
- Cookist / Palladini F. "Cos'è il malto diastasico e i suoi effetti nell'impasto" — https://www.cookist.it/cose-il-malto-diastasico-e-quali-sono-i-suoi-effetti-nellimpasto-della-pizza/