🎃 Moulded Pumpkin Balls
100% plant-based pumpkin balls made from the same mix as the moulded pumpkin burgers: roasted pumpkin, potatoes or legumes and spices.
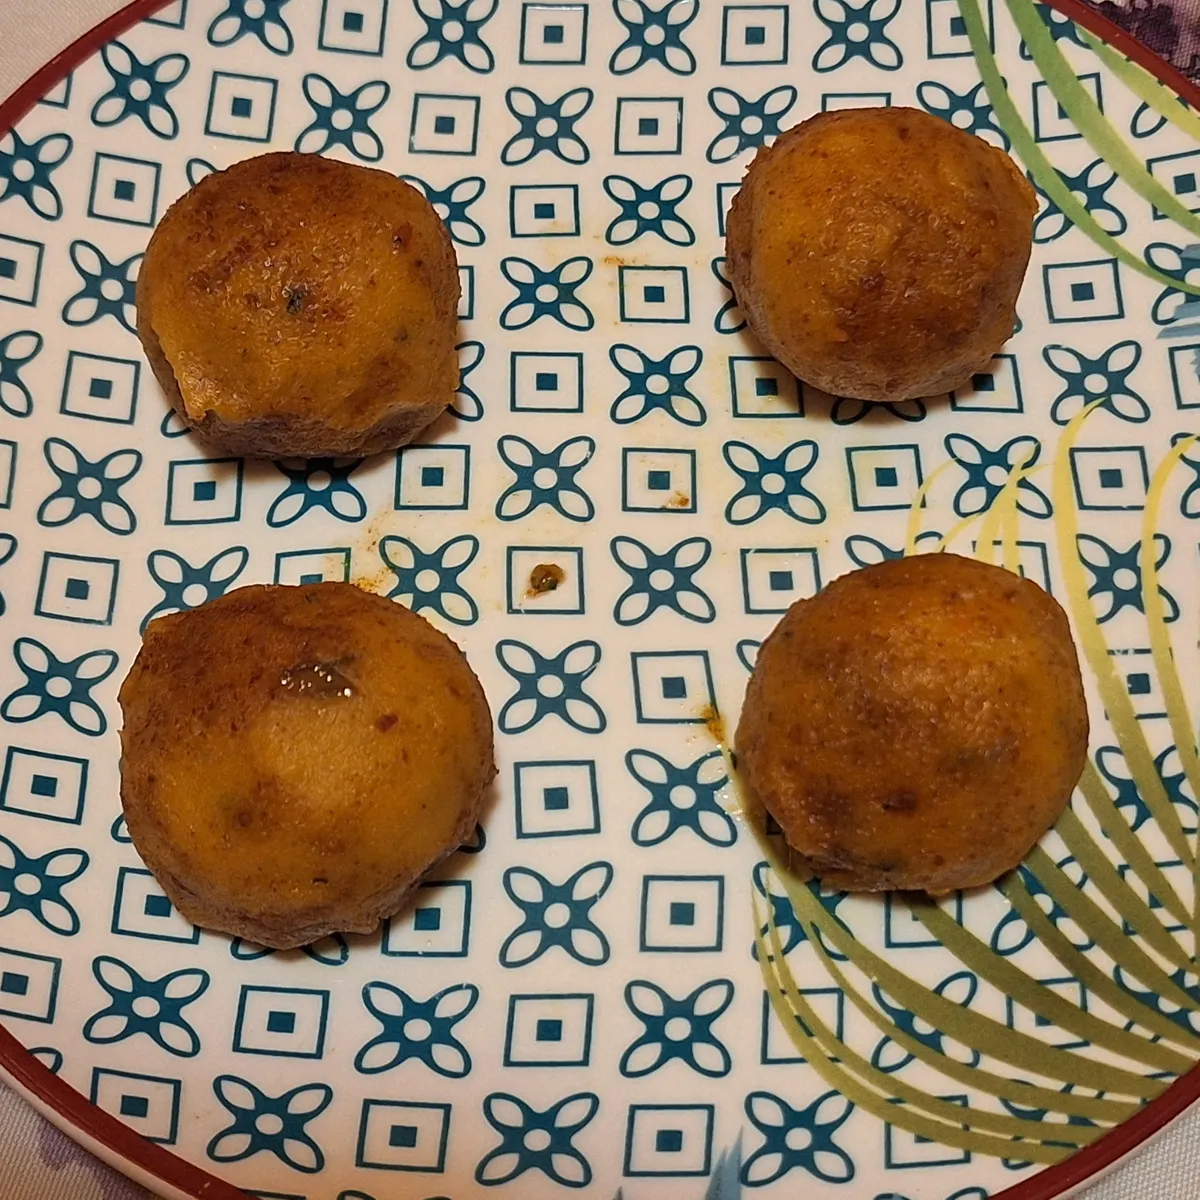
Moulded Pumpkin Balls
This is a really quick and versatile recipe: it starts from the pumpkin burger mix, and from there you can make balls, as in this recipe, or the pumpkin burgers themselves, or the pumpkin flan. The base mix, quickly prepared with pumpkin, potatoes or legumes and spices, can be put in a fridge container and kept aside for the following days, or it can be frozen and used when needed.
1. Ingredients
Dough
| Ingredient | Quantity |
|---|---|
| Roasted pumpkin flesh (from ~800 g raw, cleaned pumpkin) | 600 g |
| Cooked cannellini beans (or potatoes/other legumes, see variants below) | 250 g |
| Onion | 60 g |
| Carrots | 60 g |
| Breadcrumbs (+ more for the crust) | 40 g |
| Olive oil (+ a little to oil and to finish) | 20 g |
| Fine salt | 6 g |
| Paprika, rosemary, sage, nutmeg and black pepper | to taste |
The pumpkin in the table is already roasted and cleaned: 600 g is the cooked flesh that goes into the mix, not the whole raw pumpkin. To get it you need about 800 g of raw pumpkin already stripped of skin and seeds (which loses more water in the oven). See the Technical Notes for why.
2. Method
- Peel the pumpkin, remove the seeds and cut into pieces of about 2-3 cm. You need about 800 g of raw cleaned pumpkin to obtain the 600 g of roasted flesh for the mix. Cook it in one of two ways:
- In the oven: lay the pieces on a lined tray, not overlapping, with a drizzle of oil; bake in a static oven at 180 °C for 30-40 minutes (up to 45-50 if the pieces are large), until soft and lightly caramelised.
- In the microwave: place the pieces, not overlapping, in a microwave-safe container with a little water in the bottom (for example a glass baking dish covered with a plate or a microwave-safe plastic dome). Cook at full power for 8-10 minutes, checking halfway and turning the pieces, until soft. These are indicative times: judge by how soft the pumpkin is at the halfway point to see whether it needs more or less time.
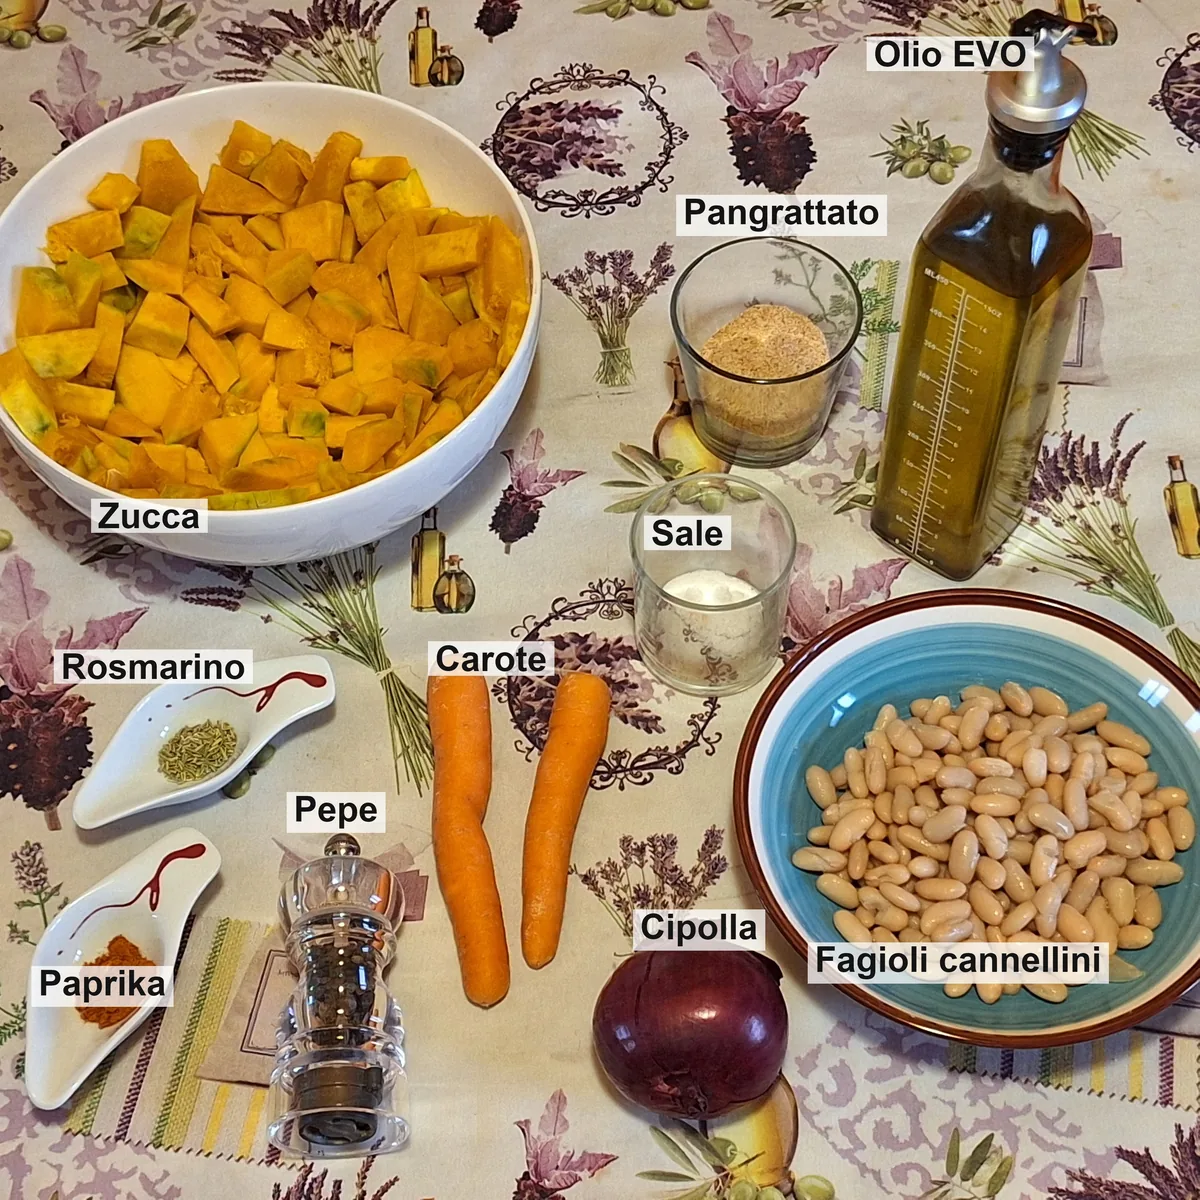
The ingredients: pumpkin, cannellini beans (the binder), onion, carrots, breadcrumbs, olive oil, salt and the spices (paprika, rosemary, pepper). 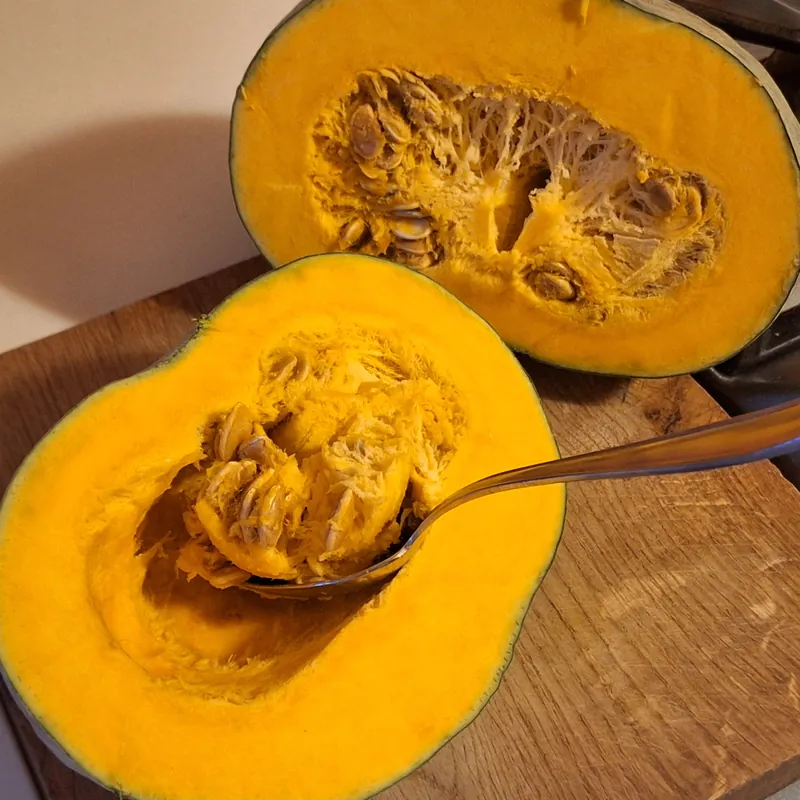
Remove the pumpkin's seeds and strings, then cut it into 2-3 cm pieces. 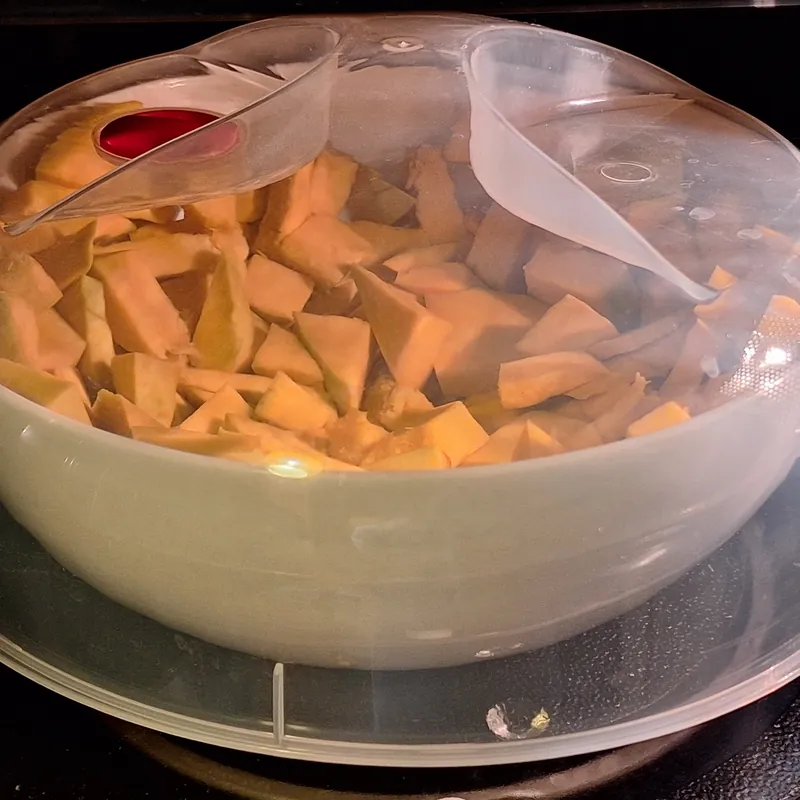
Microwave cooking: non-overlapping pieces in a container with a little water and a suitable lid. - Drain and dry the 250 g cooked cannellini beans well and roughly mash them. They are the binder: they will be added to the pan together with the pumpkin, where they finish breaking down and drying out.
- Finely chop the 60 g onion and the 60 g carrots and soften them in a pan with a little oil until soft and dry. Towards the end add the pumpkin purée and the mashed beans and continue a few minutes, stirring: the beans break down and, together with the pumpkin, lose the excess water and start to bind. Turn off the heat and let cool slightly.
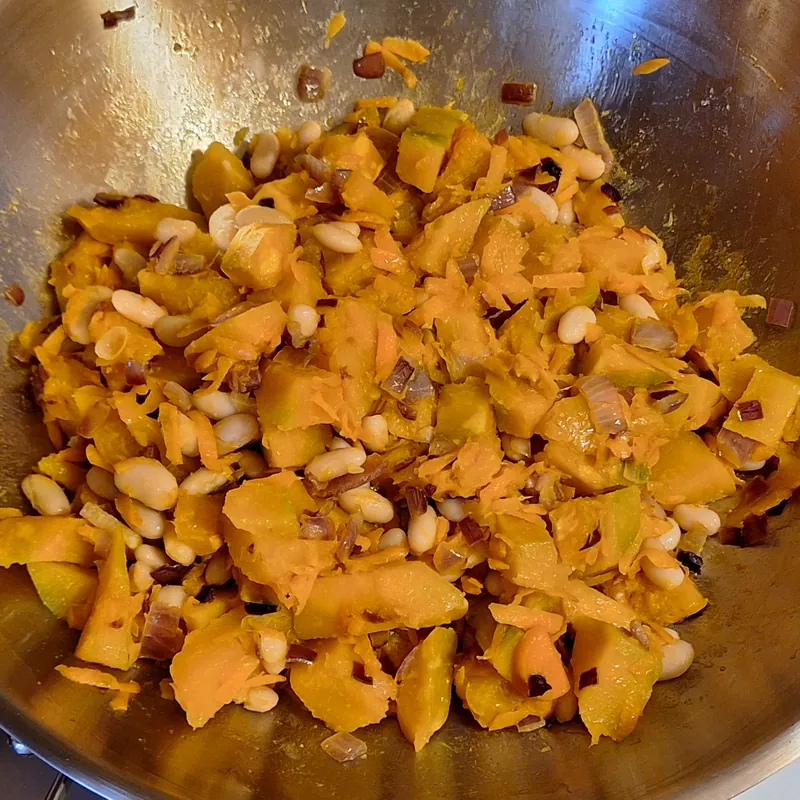
Pumpkin and beans added to the onion and carrot sauté. 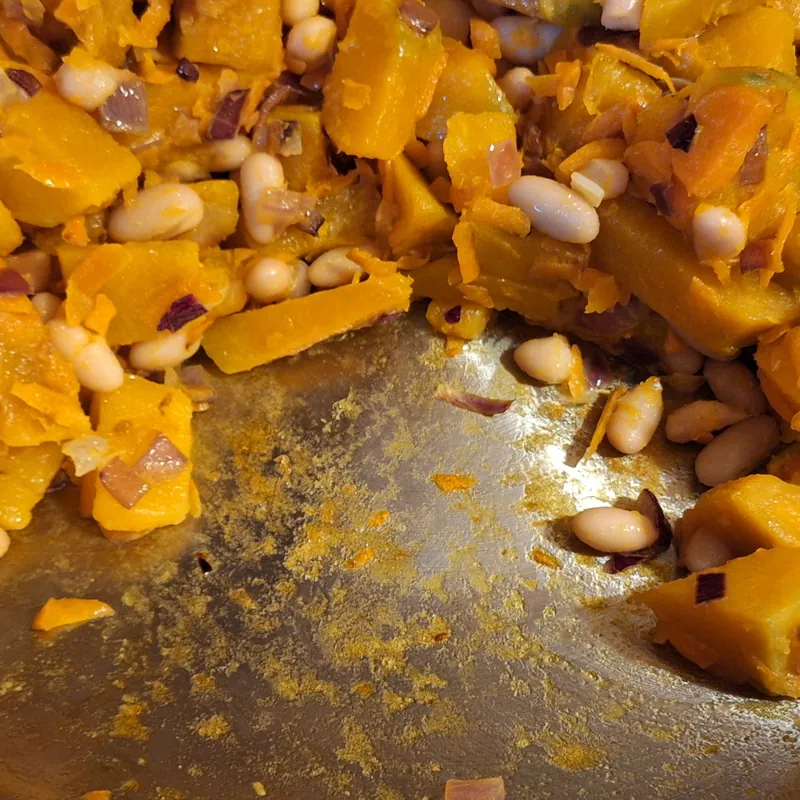
When it starts sticking to the bottom, the water has dried off. This is the moment when great flavour starts to develop. 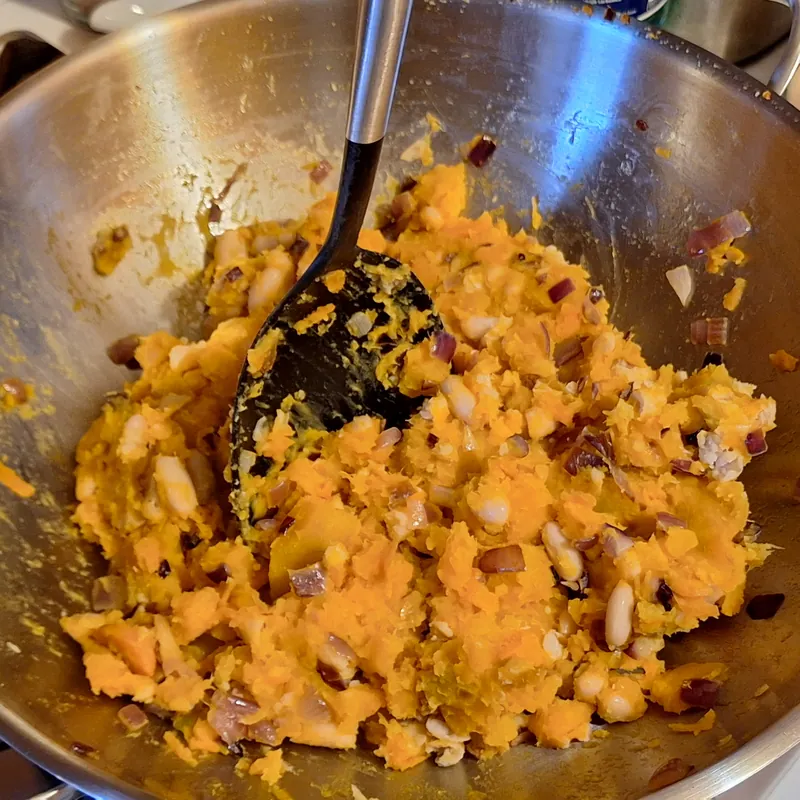
The mixture is ready when it is thick enough to hold up the spoon. - Make the mix.
- Transfer the pumpkin, bean, onion and carrot mixture to a bowl, add the 6 g fine salt, paprika, chopped rosemary, pepper and optionally the nutmeg (optional, to add together with or instead of the paprika), and the 20 g olive oil. Blend with an immersion blender. Add the 40 g breadcrumbs a spoon at a time, until you get a dense, even mixture. If it stays sticky, add more breadcrumbs; if too dry, a drizzle of oil. As a rule, it is best not to use more breadcrumbs or oil than necessary.
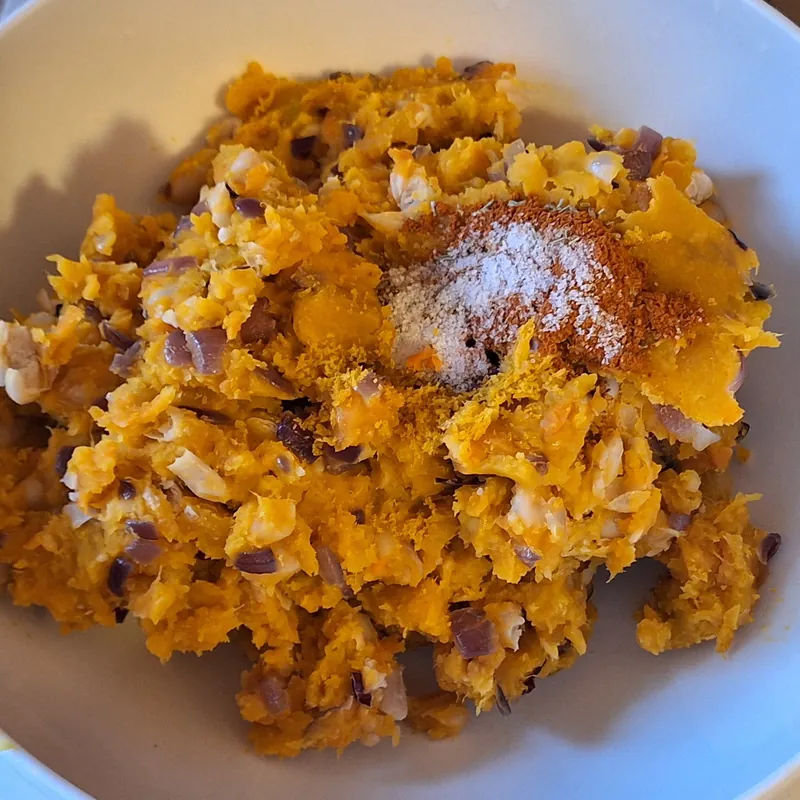
In the bowl with spices and aromatics, before blending. 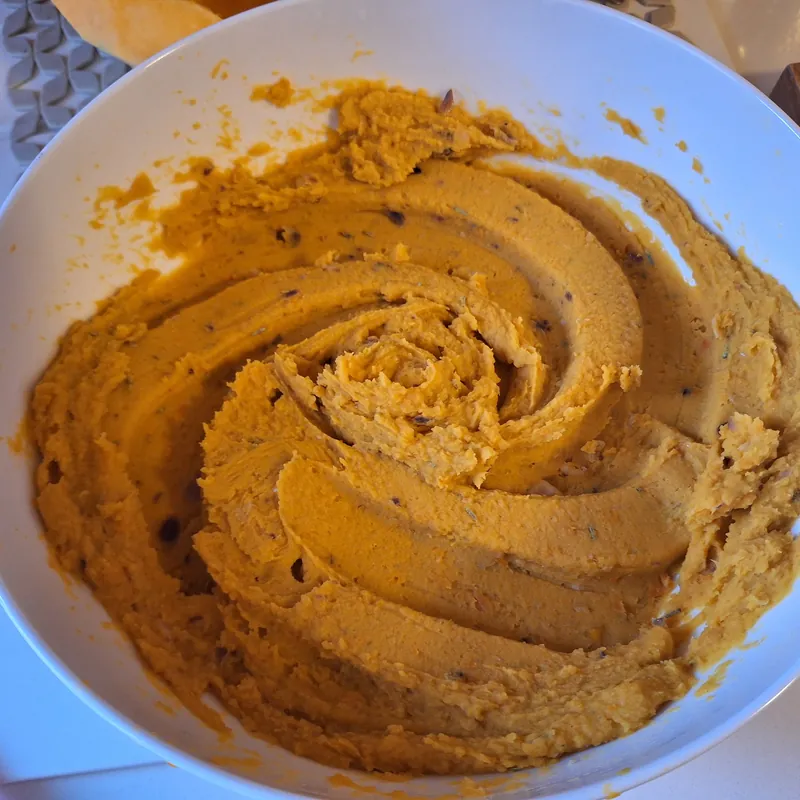
The blended, even mixture, ready for the breadcrumbs. - Mould and chill.
- Transfer the mixture to the container you will store it in and press it down well, to remove any air gaps; this makes the mixture compact, so it will tend to fall apart less during cooking, especially in the pan. Level the surface.
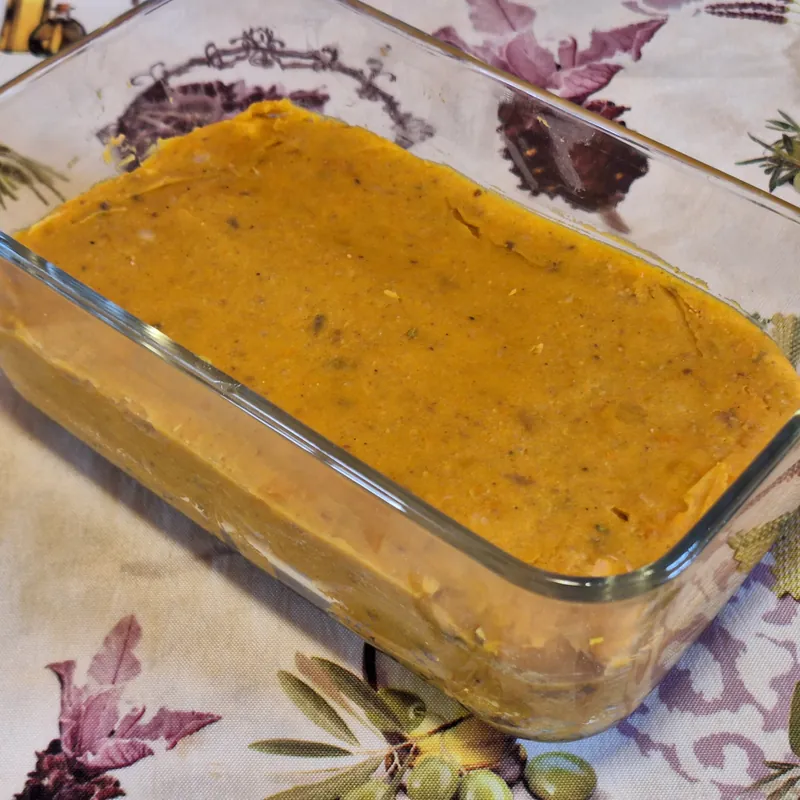
The mixture pressed into the tin, ready for the fridge: compacting it well helps the balls hold their shape. - Cover and refrigerate for at least 3-4 hours, ideally overnight. The cold firms the mixture, so you can form balls that hold their shape; keeping it ready in the fridge also lets you cook the balls over the following days.
- Shape the balls.
- Take the cold mixture and form balls that are not too big: if they are too big they will not cook well inside, especially in the pan. Oil them lightly with a little EVO oil. Shape only as many balls as you need; the rest of the mix keeps in the fridge or freezer. Or you can pre-shape the balls and freeze them.
- Cook.
- Cook the balls in one of these ways:
- In the oven: lay them on a lined tray and roast in a fan oven at 190-200 °C for 20-25 minutes, turning halfway, until golden.
- In the oven then in the pan with tomato: roast them in the oven as above, then finish them in a pan with tomato sauce to flavour them and serve them in sauce.
- In the pan (as in the photo): heat a little oil in a pan, in my case flavoured with a few sage leaves, and brown the balls over medium heat, turning them, until golden on all sides. If you want a more pronounced crust, roll them in breadcrumbs before cooking.
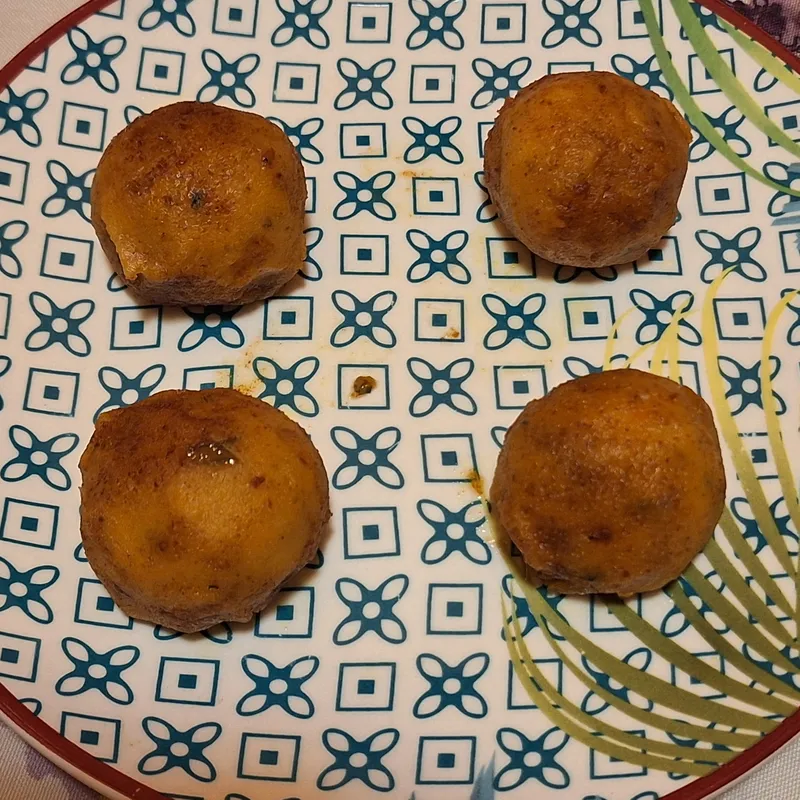
The balls finished in the pan with sage oil, golden and ready to serve. 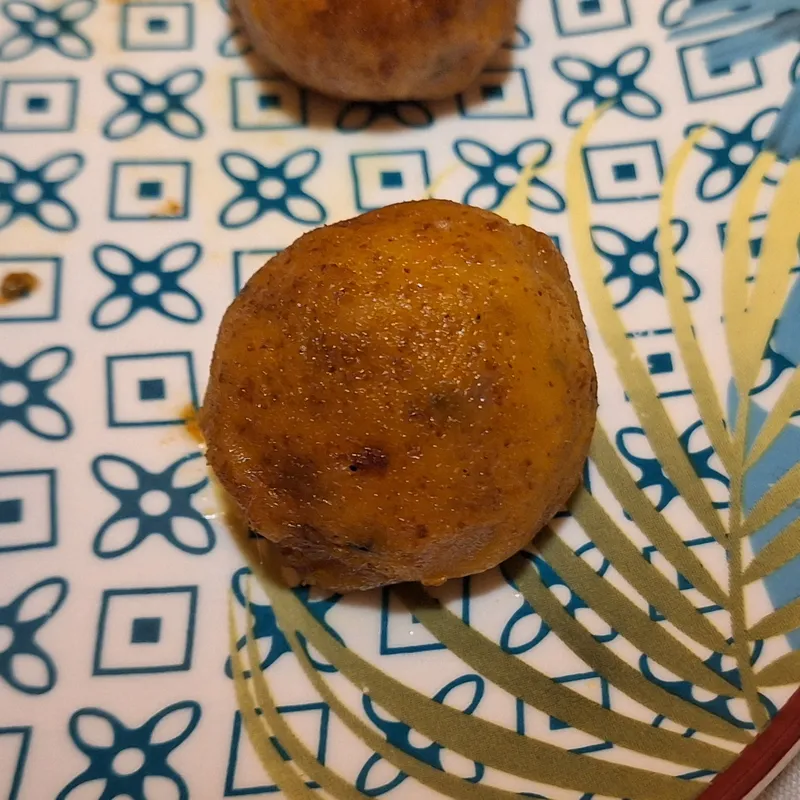
Close-up: the golden crust from finishing in the pan. - Serve hot, on their own, with a sauce, or in a bun with salad.
3. Storage
- Refrigerator: the whole block of mix keeps 2-3 days in an airtight container; already-cooked balls keep 2 days.
- Freezer: the raw balls (after chilling, before cooking) freeze well laid out on a tray then bagged; cook them from frozen, adding a few minutes. The whole block of mix freezes too.
4. Technical Notes
- Raw or cooked pumpkin? In the table the 600 g is already-roasted flesh, i.e. what actually goes into the mix. Whole raw pumpkin weighs a lot more: with skin and seeds removed (about 15-20%) and the water lost in the oven, you need about 800 g of raw cleaned pumpkin to reach the 600 g cooked. The cooked weight was chosen as the reference because that is what matters for the texture of the balls.
- Why roast the pumpkin rather than boil it: pumpkin is about 90% water. Boiling makes it absorb even more water, giving a soft mix that falls apart. Roasting it in the oven dries it and concentrates the flavour, giving a drier, tastier mix. The microwave method is there to save time, but it leaves the pumpkin cooked and still watery: you dry it and let it "caramelise" afterwards with a pass in the pan. A well-dried mix is what lets the balls stay compact. The underlying principle: better to remove water than to add binder. A roasted mix and/or one well finished in the pan also helps give the pumpkin a good flavour.
- Why you need a binder: pumpkin does not bind on its own, so you need an ingredient to hold the mix together. As a binder, beans and potatoes are equivalent: both, cooked and mashed, compact the mixture and, once cold, hold it together without any egg or cheese. In this recipe we use already-cooked cannellini beans for convenience and speed, added to the pan they break down and dry out, becoming an excellent binder despite having less starch than potatoes. Potatoes give an equally good result, but must be boiled first (20-30 minutes in their skins, then peeled and mashed): see the variants.
- Why chill before shaping the balls: cold compacts the mixture. A warm mix tends to slump and fall apart. For the mixture to set firm enough to shape and cook well you need at least 3-4 hours in the fridge (overnight is even better, so you have it ready for the following days).
- Why shape balls that are not too big: a small ball cooks evenly all the way to the centre, while one that is too big stays raw inside, especially when cooked in the pan where the heat only reaches the surface. A modest size also gives more golden crust relative to the volume.
- Why press well into the tin: air gaps are the weak points of the mix. Compacting the mixture firmly against the base and sides gives a dense, even mass, easier to portion into balls that hold their shape.
- Why sear the balls: the pass in a pan or oven creates a crust that seals the surface and makes them more stable to handle, as well as adding flavour. A ball eaten only cold, just shaped, is more fragile.
- The spices and sage: paprika, finely chopped rosemary, nutmeg and black pepper give the mix its aromatic profile. Sage, used to flavour the oil for finishing in the pan, adds a herbaceous note that pairs well with pumpkin. All to taste: start with a little and adjust. Paprika (sweet or smoked) and nutmeg pair especially well with pumpkin.
Variants: changing the binder
- With potatoes: potatoes replace the beans 1:1 by weight (250 g). Unlike the beans they must be boiled first: 20-30 minutes in their skins, then peeled while hot and mashed. Alternatively they can be cooked in the microwave like the pumpkin. Potatoes bind beautifully thanks to their starch and give a slightly drier mix with a more neutral flavour; but very few diners can tell the difference. With the mould technique potatoes work very well, as the chilled starch compacts the mixture well.
- With borlotti beans: same 1:1 proportion as the cannellini, already cooked and well drained, added to the pan like the cannellini. Very similar to cannellini in result and creaminess, with a slightly bolder flavour.
- With chickpeas: same 1:1 proportion, already cooked and well drained. Chickpeas are drier and more granular (less risk of a soft mix) and bring a bolder, roasted, falafel-like flavour. Unique advantage: they can be bound with chickpea flour (1-2 tablespoons), the same ingredient, without altering the flavour, useful if the mix stays soft.
- Rule for all legumes: moisture is the enemy of binding. Drain and dry the legumes very well (the governing liquid makes the mix soft) and keep a moisture absorber ready (breadcrumbs or, for chickpeas, chickpea flour) to adjust the raw consistency.
5. Sources
- Agrodolce: pumpkin + potatoes as the base, breadcrumb coating
- Cookist: roasting the pumpkin for a drier mix
- La Cucina di Loredana (GialloZafferano): pumpkin/potato proportion and breadcrumbs as regulator
- Allacciate il Grembiule (GialloZafferano): managing the mix's moisture
- PrimoChef (vegan): 100% plant-based version with roasted pumpkin