🫓 Vegetable Purée Flatbread with Rosemary and Garlic
Vegan rustic flatbread with roasted onion, tomato and pepper purée in the dough. Type 2 flour, wholegrain semolina, rosemary and garlic.
Vegetable Purée Flatbread with Rosemary and Garlic
Set the amount of ingredients you want to use with one of the two options below:
Quantity
Type 2 flour (semi-wholegrain, stone-milled) (min g, max g):
g
1. Ingredients
Vegetable purée (raw weight, before cooking)
| Ingredient | Quantity |
|---|---|
| Golden onion (about 2 medium) | 400 g |
| Red bell pepper (about 2 medium) | 350 g |
| Peeled garlic cloves (~12-15 cloves) | 30 g |
| Tomato passata (added raw at blending) | 100 g |
| Olive oil (for the pan) | 15 g |
| Fresh rosemary (roughly chopped needles) | 5 g |
| Dried oregano | 3 g |
| Freshly ground black pepper | 1 g |
| (Optional) Paprika (smoked or not) | 5 g |
Dough
| Ingredient | Quantity |
|---|---|
| Type 2 flour (semi-wholegrain, stone-milled) | 750 g |
| Wholegrain durum wheat semolina (re-milled) | 250 g |
| Water | 340 g |
| Olive oil | 60 g |
| Fresh yeast (or 3 g instant dry yeast) | 8 g |
| Fine salt | 13 g |
2. Method
- Prepare the purée.
- Dice 400 g onion, 350 g red bell pepper (remove seeds and membranes) and 30 g garlic cloves, finely chopped.
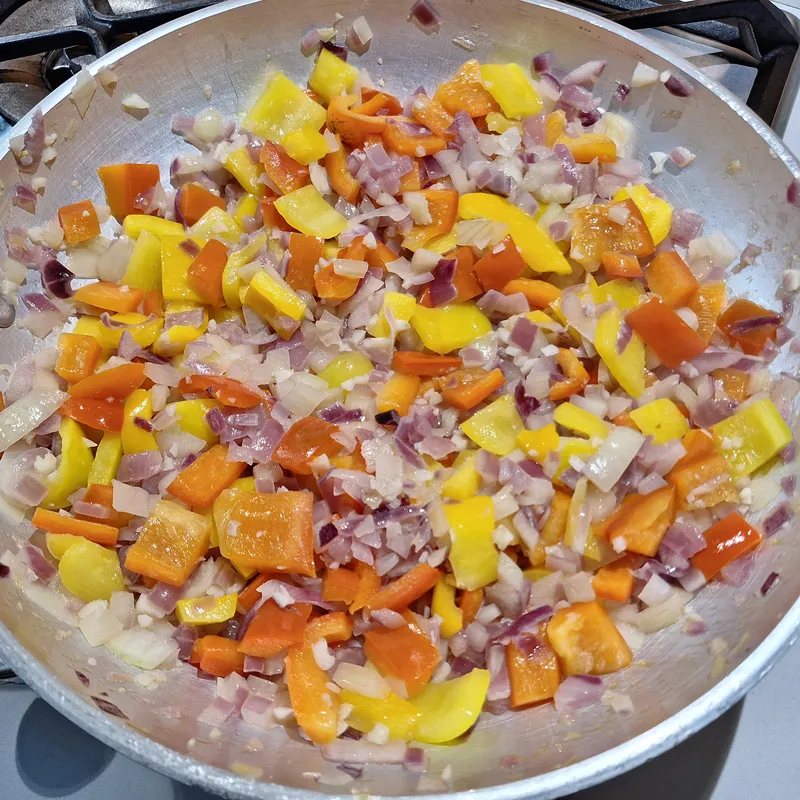
- Grease a pan with 15 g olive oil (indicative, adjust by eye) and heat the oil. Add the vegetables and sauté for about 10 minutes.
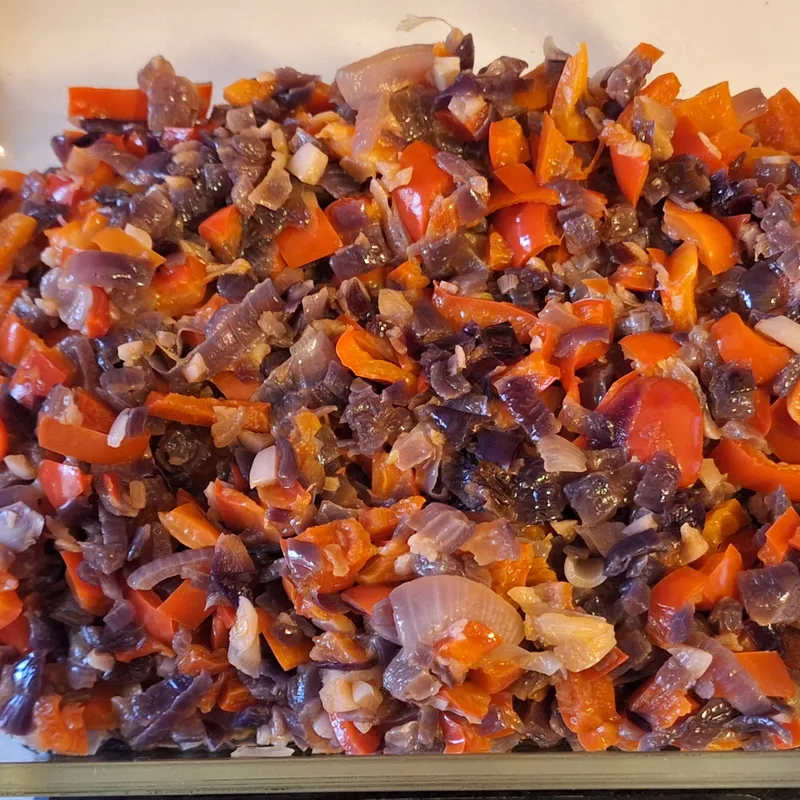
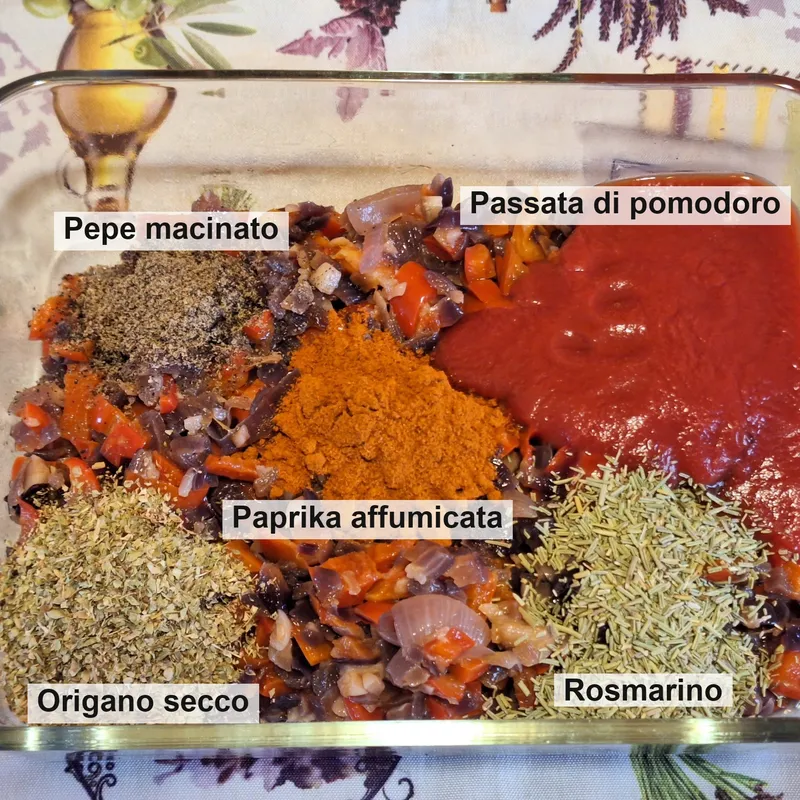
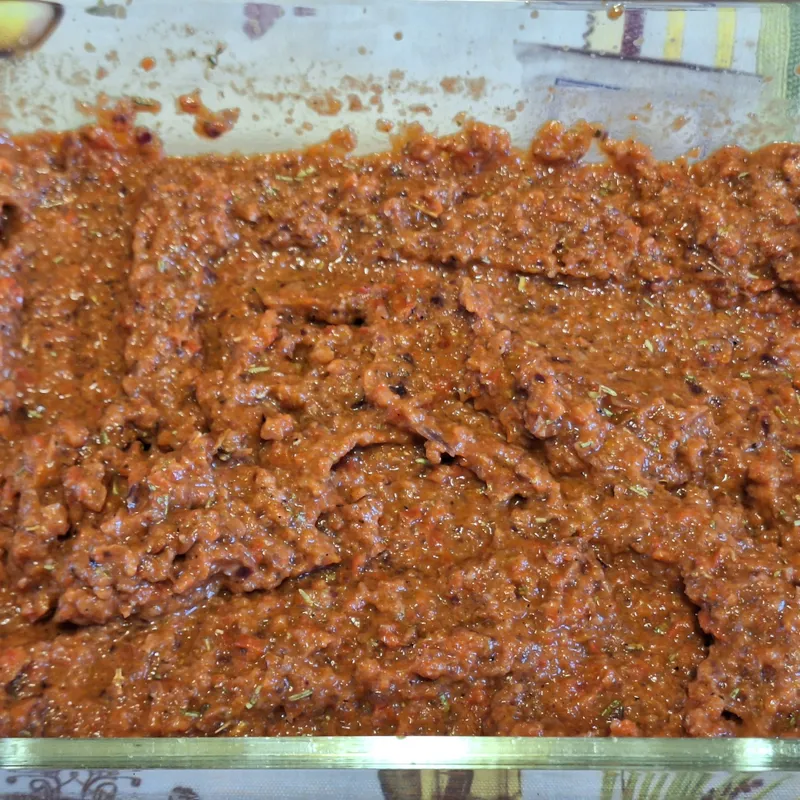
- Put the cooked vegetables in a container (they are hot, I'd avoid plastic). Add 100 g tomato passata (raw), 5 g fresh rosemary, 3 g dried oregano, 1 g black pepper and, if desired, 5 g paprika. Blend until you have a purée. Let cool to room temperature.
- Make the dough.
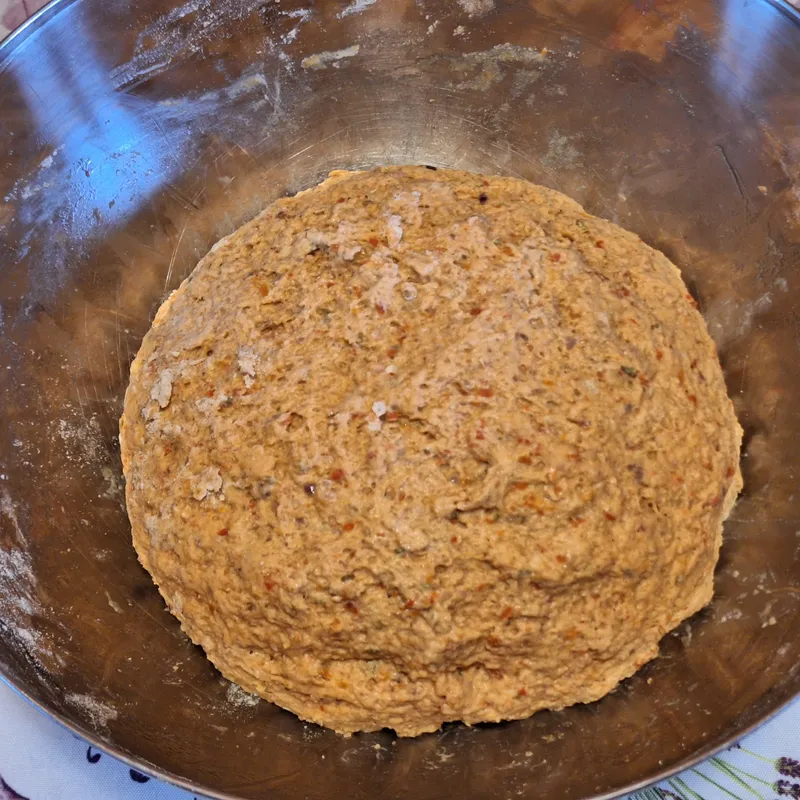
- Dissolve 8 g fresh yeast in 50 g water, lukewarm, and add it to the flours (750 g type 2 flour and 250 g wholegrain semolina), then add the vegetable purée. Start kneading, then add the remaining 290 g water in a stream as needed: you may need less, depending on how dry or watery the vegetables are.
- As soon as there is no free water, add 13 g fine salt and 60 g olive oil. Knead a few minutes until you have a cohesive mass with no unabsorbed flour remaining. No need for a smooth ball; you will get that after the first round of folds. Then cover the bowl with a lid or plate.
- Folds.
- After 30 minutes of covered rest, proceed with the first round of stretch and folds.
- Perform two more rounds of stretch and folds at 30-minute intervals.
- Bulk fermentation.
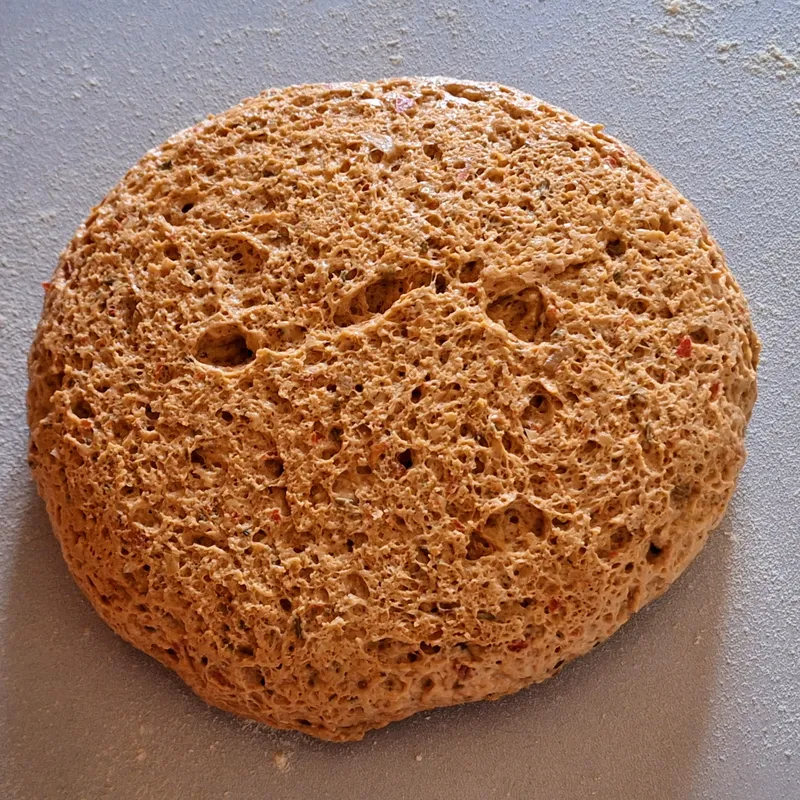
- Cover again and let rise 3-4 hours at room temperature. The dough should increase by 70-80% (do not wait for a full doubling).
- Shape.
- Generously oil a baking tray (~30×40 cm). Transfer the dough to the tray and stretch it gently with wet hands to fill the edges.
- Cover the tray with a clean kitchen towel, or place in a turned-off oven with a cup of hot water, and let rise 50-60 minutes until the dough is puffy and springs back slowly when pressed with a finger.
- Bake.
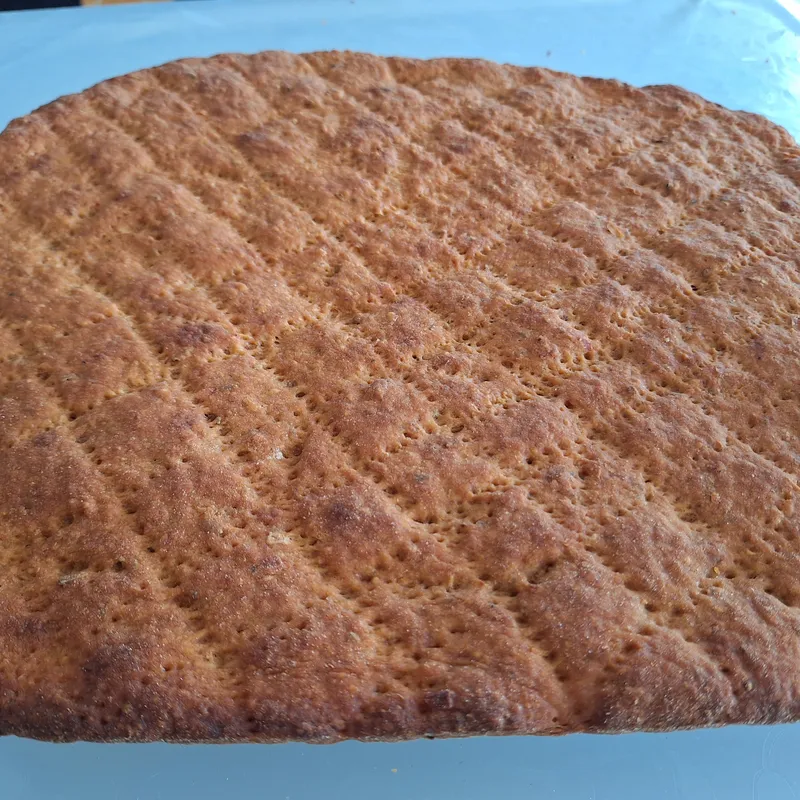
- Preheat the oven to 220 °C static. Dimple the surface with oiled fingers. Drizzle with olive oil. For a thinner, crispier result, in addition to dimpling you can prick the dough with a fork or skewer.
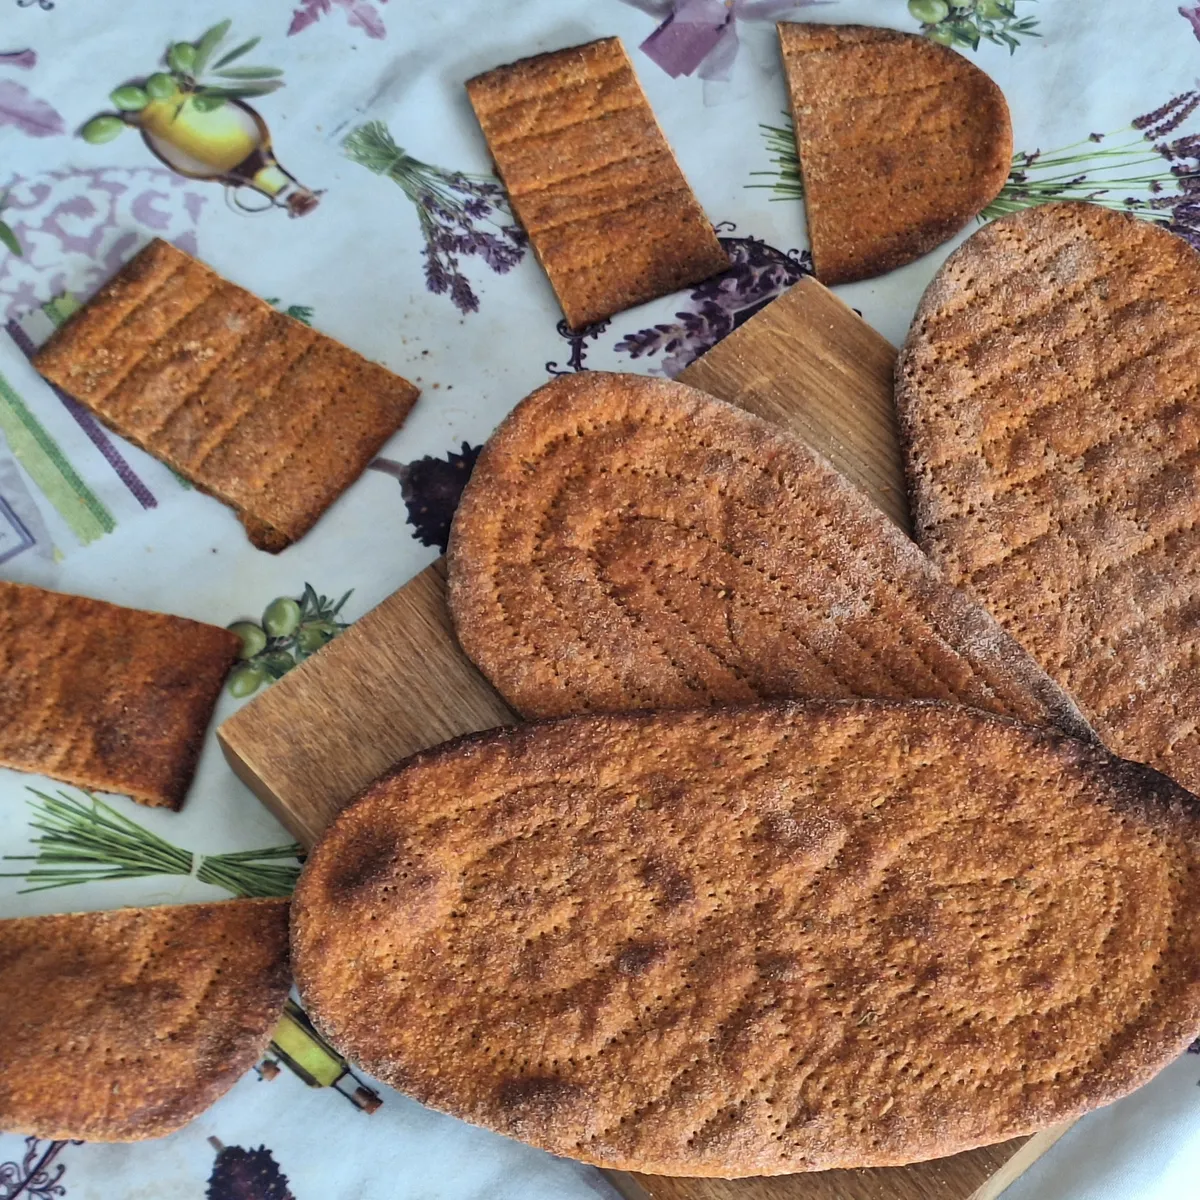
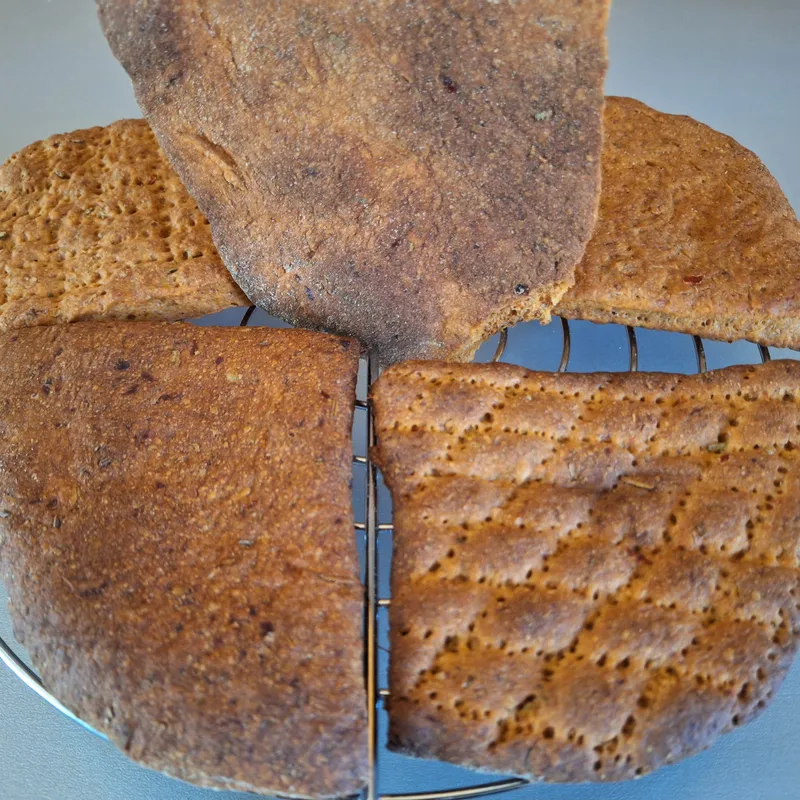
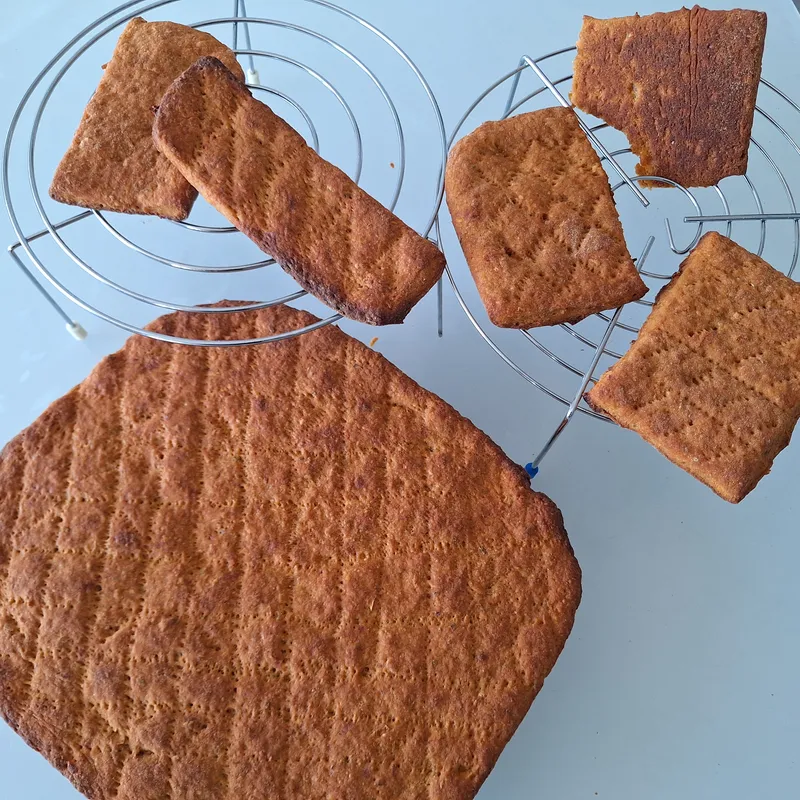
- Bake for 25-30 minutes until evenly golden and crisp.
- Remove from oven and let cool on a wire rack before cutting.
3. Storage
Let cool completely on a wire rack before storing (prevents condensation and mould).
- Room temperature: 1-2 days in an airtight container or wrapped in a kitchen towel. After 2 days the crumb firms up due to starch retrogradation, and the vegetable purée increases the risk of mould.
- Refrigerator: 4-5 days wrapped in a towel inside a bag. Cold accelerates starch retrogradation (the crumb becomes noticeably denser within 24 hours); reheat 5 minutes at 180 °C before serving to restore softness.
- Freezer: up to 3 months. Slice before freezing; thaw at room temperature and reheat in the oven 8-10 minutes at 180 °C.
4. Technical Notes
- Why cook the vegetables: raw onion and garlic contain alliinase, an enzyme that produces compounds (allicin) with antimicrobial effects on yeast and reducing effects on gluten. Alliinase is irreversibly deactivated above 60 °C; allicin degrades between 70-85 °C. Any cooking above 70 °C is sufficient.
- Autolyse for wholegrain semolina: wholegrain re-milled semolina has coarser particles than soft wheat flour and needs more time to hydrate. The autolyse (45-60 minutes) lets the particles absorb water fully, improving dough workability. I did not include it in the recipe because without autolyse the result is still excellent, and managing an autolyse with a variable amount of water is feasible but, in my opinion, a little more laborious than necessary. I mention the option anyway for anyone who wants to try it.
- Paprika (optional): paprika (sweet or smoked) adds a warm, enveloping flavour that amplifies the roasted pepper notes without significant heat. Dose: 5-10 g per 1 kg of flour (for the quantities shown in the ×4 column). Start with 5 g sweet paprika for colour and gentle warmth; use smoked paprika (pimentón de la Vera) for a smokier profile. Does not interfere with yeast.
- Why not wait for full doubling: overproofed dough loses the ability to rise further in the oven (oven spring). The result is a dense, gummy crumb instead of a soft, airy one. Even a flat schiacciata needs an airy interior with air bubbles.
- Oil: the oil can be reduced to 40 g per kg of flour (40 g in the ×4 column) for a drier, crispier crust. Oil slows staling: with 60 g the crumb stays soft longer (2-3 extra days); with 40 g the crust is crispier on day one but staling is slightly faster. The choice is personal; I personally use 40 g, also because I freeze part of the batch and the portion kept at room temperature is consumed well before it can go stale.
Alternative methods for cooking the vegetables
| Method | How | Time | Result |
|---|---|---|---|
| Oven | Onion wedges + pepper halves + whole garlic on a tray with a drizzle of oil, 200 °C | 25-30 min | Roasted, sweet, complex flavour; long but simple |
| Quick sauté (my favourite) | Onion + pepper pieces in oil over medium/high heat; garlic added in the last minutes | 8-10 min | Sautéed flavour, caramelised vegetables, already good as is; quick version |
| Covered cook (sweat) | Onion + pepper + 2 tbsp water with lid, medium-low heat; garlic halfway | 15-20 min | Easy, fairly quick, but less interesting flavour: essentially steamed vegetables |
| Dedicated garlic confit | Peeled cloves submerged in olive oil in a lidded pot, oven at 130 °C | 45-60 min | Creamy, very sweet garlic + infused oil, but long to prepare |
5. Sources
- Serious Eats, Stella Parks: total water replacement with purée
- King Arthur Baking: role of salt, 50% reduction
- PMQ Pizza Magazine / American Institute of Baking: herb and spice dosing in dough
- Sourdough Geeks: raw garlic and onion as reducing agents
- Chain Baker: 70-80% rise, not doubling
- The Perfect Loaf: semolina and crisp crust
- Country Roads Sourdough: raw purée (salsa) in dough